Setting Up Laravel Local Development Environment on Ubuntu
Saturday, September 14, 2024
// 4 min read

Table of Contents
This guide aims to assist you in setting up a local development environment for Laravel on Ubuntu.
Updating the System
Before we begin, let's ensure your Ubuntu system is up-to-date for compatibility and security:
sudo apt update && sudo apt upgradeInstall PHP
We'll be installing PHP 8.3, the latest version at the time of writing, using a PPA (Personal Package Archive) for more up-to-date PHP versions. A PPA is a user-managed software repository for Ubuntu.
sudo add-apt-repository ppa:ondrej/php -ysudo apt update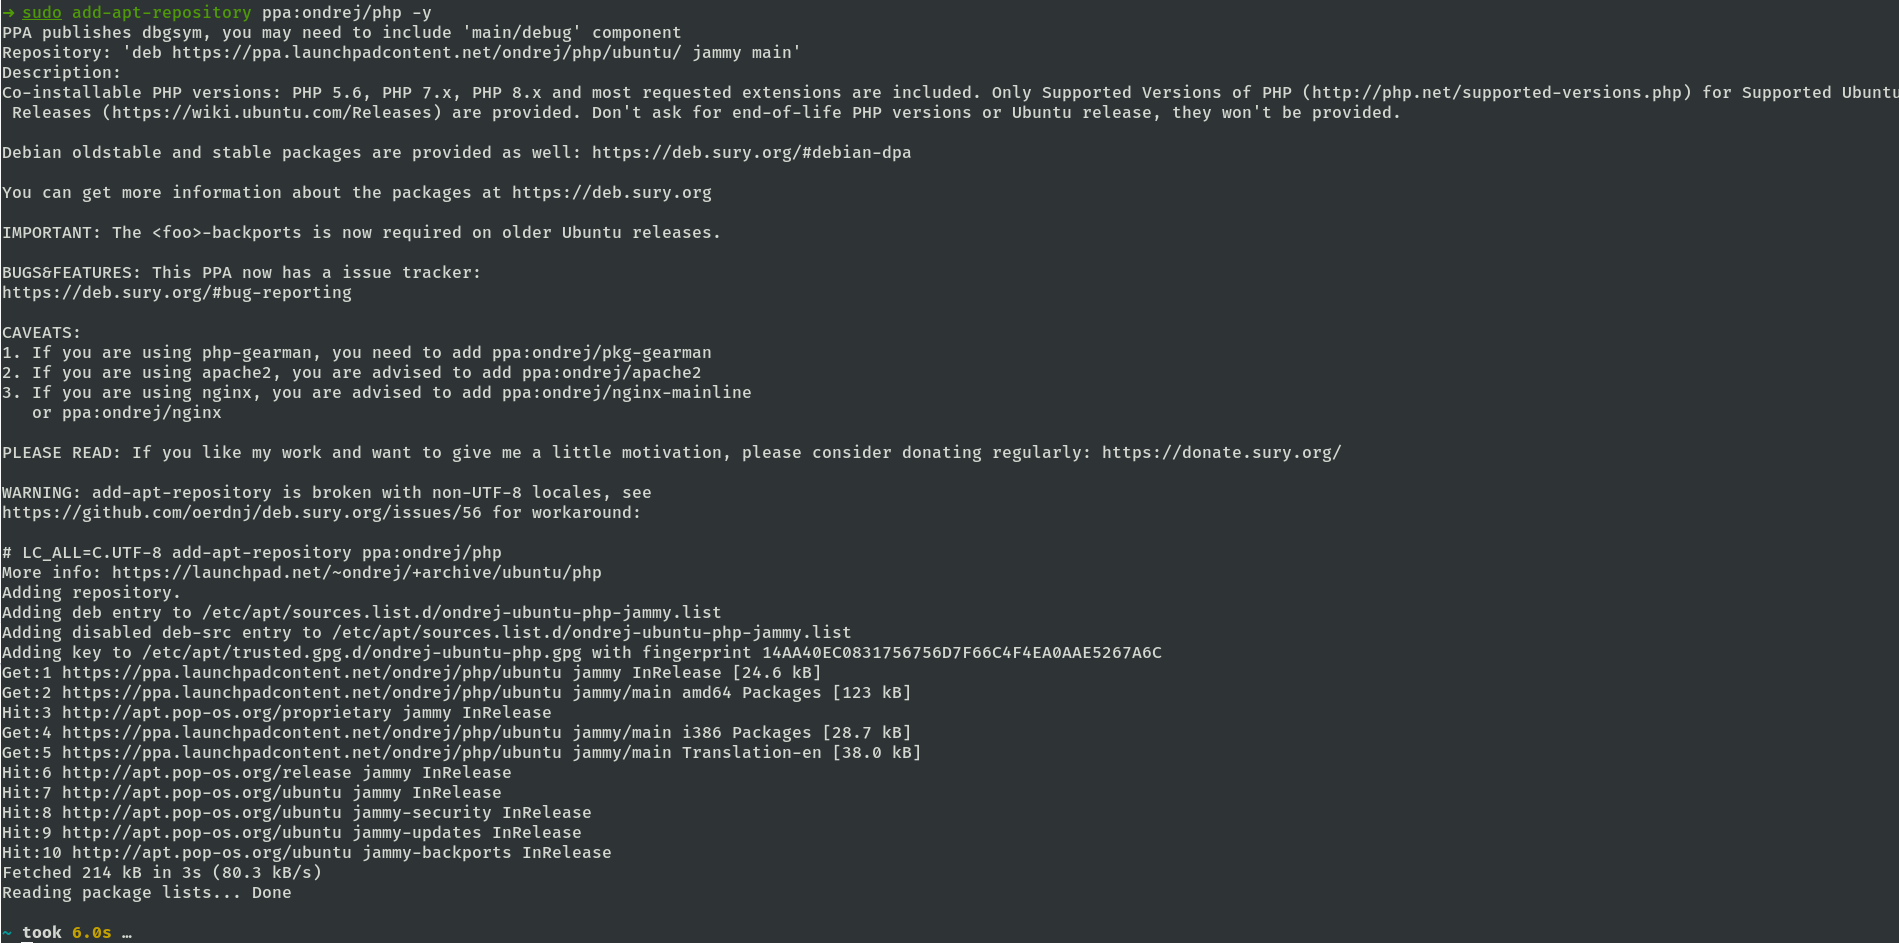
Next, we'll install PHP 8.3 along with essential extensions commonly used in Laravel development:
sudo apt update & sudo apt install php8.3 php8.3-{cli,common,curl,mbstring,xml,sqlite3}Brief description of the extensions:
php8.3-cli: Command-line interface for PHP.php8.3-common: Core functionality (E.g. fileinfo, json, phar)php8.3-curl: For handling URL requests.php8.3-mbstring: Multibyte string functions.php8.3-xml: XML support.php8.3-sqlite3: SQL database engine support.
After install, verify your PHP version:
php -v
To explore more PHP modules for your Laravel projects, use the following command:
sudo apt search php8.3-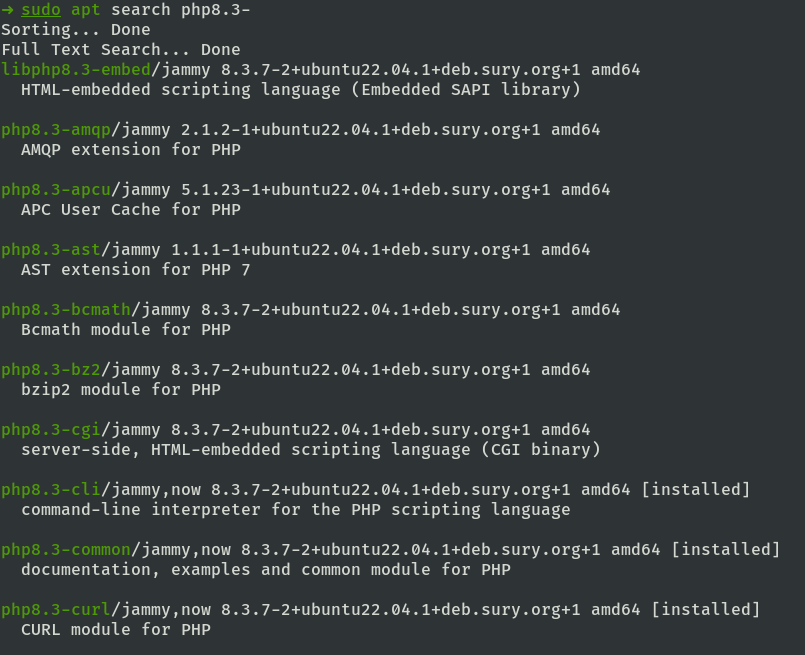
To manage loaded PHP modules, you can list them with:
php8.3 -mTo disable or enable modules:
Disable:
sudo phpdismod -v 8.3 module_nameEnable:
sudo phpenmod -v 8.3 module_name
Install MySQL
As a default choice for database connectivity in my Laravel projects, I often use MySQL. If you prefer to stick with SQLite, you can skip this step.
I'll walk you through the steps to install and set up MySQL on your local Ubuntu machine.
Install MySQL Server and PHP MySQL Connector
sudo apt-get install mysql-server php8.3-mysql
After installation, configure MySQL's security options:
sudo mysql_secure_installationDuring this process:
You can skip the 'Validate Password Plugin' for a local development environment.

Remove anonymous users.

Disallow root remote access,

And remove the test database.

When asked to reload privilege tables, select yes.

In order to connect to MySQL from a client (like DBeaver), we need to be able to connect without sudo privileges.
Log into MySQL as root:
sudo mysql -u root -pAnd run the following:
ALTER USER 'root'@'localhost' IDENTIFIED WITH mysql_native_password BY 'password';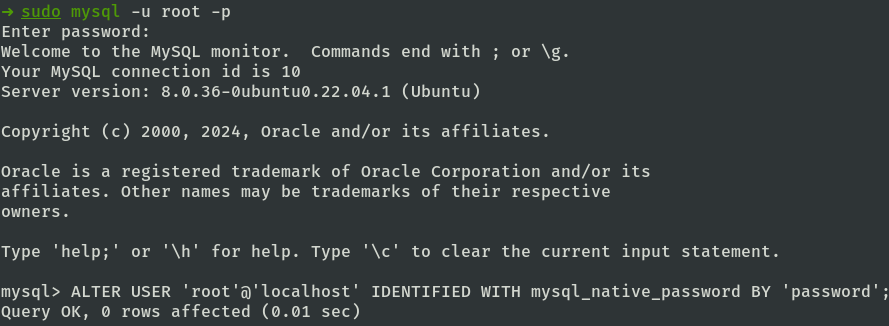
Additionally, you can create a separate user. For instance, create a new user named admin.
CREATE USER 'admin'@'localhost' IDENTIFIED BY '';
GRANT ALL PRIVILEGES ON *.* TO 'admin'@'localhost' WITH GRANT OPTION;
FLUSH PRIVILEGES;
Enter exit to leave the MySQL CLI.
You can now test out the user login without using sudo:
mysql -u adminOptional step: Set up your MySQL client
My preferred MySQL client is DBeaver.
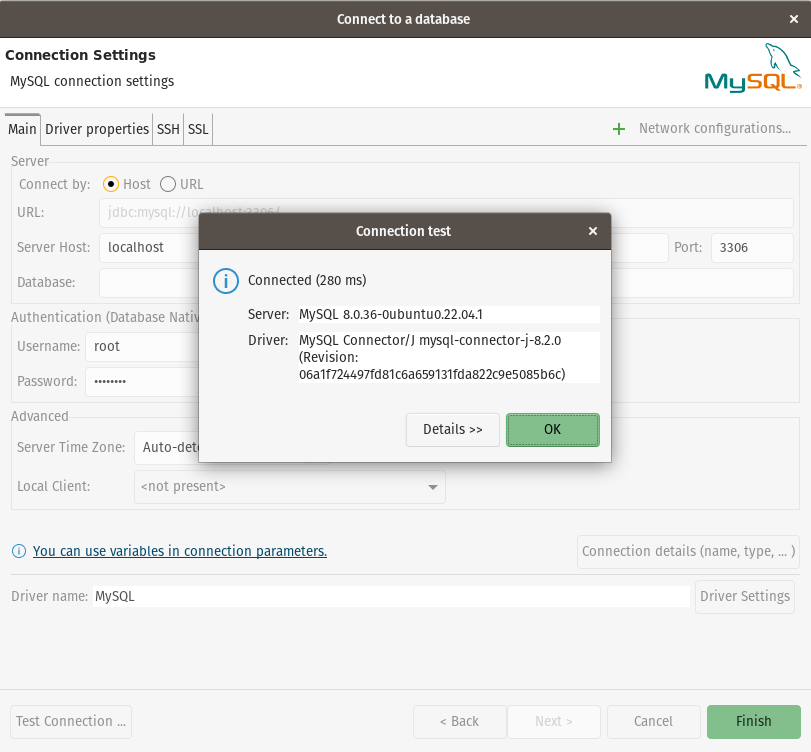
To connect to your MySQL server from localhost using DBeaver, follow these steps:
Download and install DBEaver.
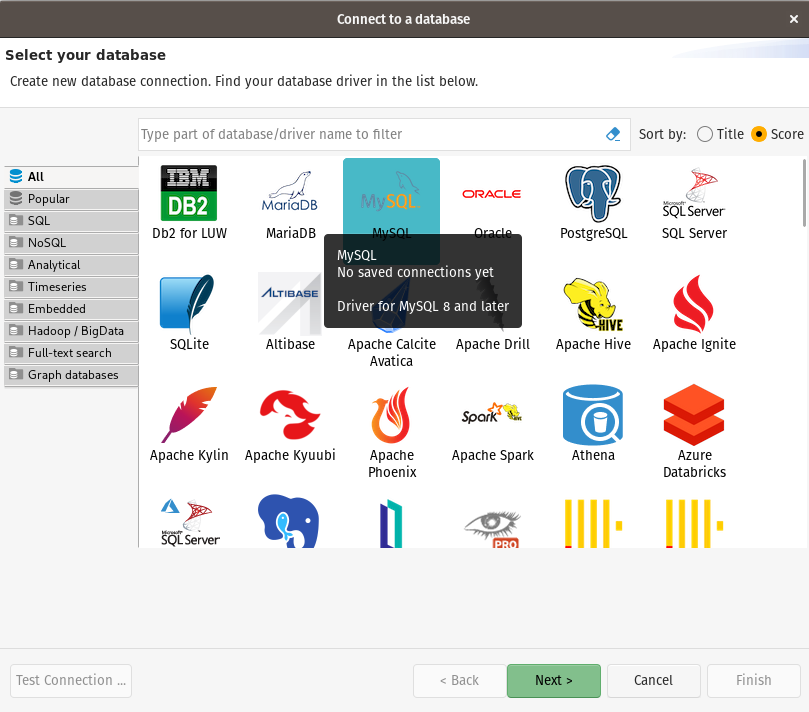
After launching the app, click on Create a new connection.
Choose the MySQL 8 driver in the database wizard.
In the connection settings:
Set
localhostas Server host,The default port for MySQL is
3306, so ensure this is set.Enter the username and password that you set up during the MySQL installation process.
Test the connection, then click Finish to save the connection settings.
Optional: Change MySQL Database Location
By default, MySQL stores database files in /var/lib/mysql.
If you want to change this, first stop the MySQL service and copy the existing database directory to the new location:
service mysql stopcp -Rp /var/lib/mysql /new_location/You can delete the original folder, but it's a good practice to keep a backup of the original data in case something goes wrong:
mv /var/lib/mysql /var/lib/mysql_bkpEdit the mysqld.cnf and change datadir value to the new location: datadir=/new_location/mysql.
sudo nano /etc/mysql/mysql.conf.d/mysqld.cnf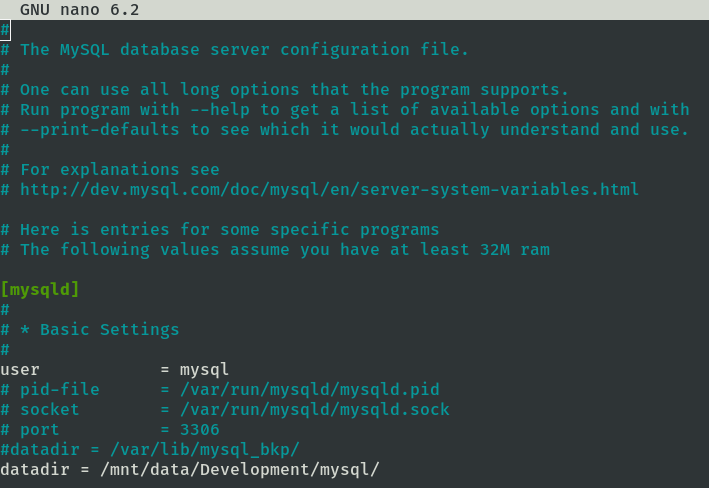
You'll also need to edit /etc/apparmor.d/*mysqld to include the new directory. Add these lines to the end of the file:
/new_location/mysql/ r,
/new_location/mysql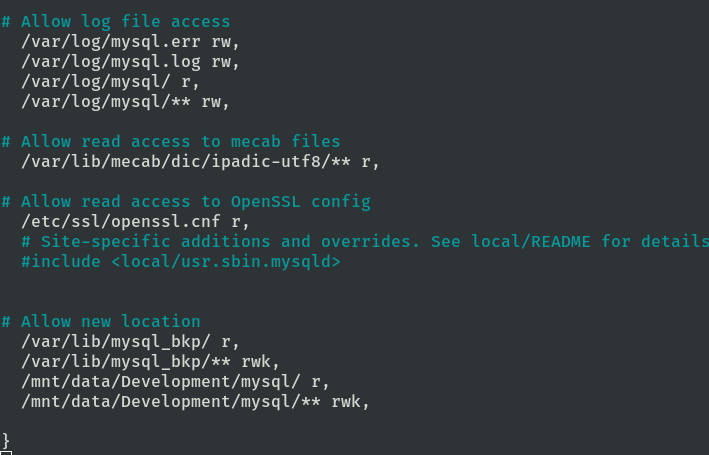
Reload AppArmor and restart MySQL:
sudo service apparmor reloadservice mysql startFinally, confirm the new data directory:
mysql -u root -pselect @@datadir;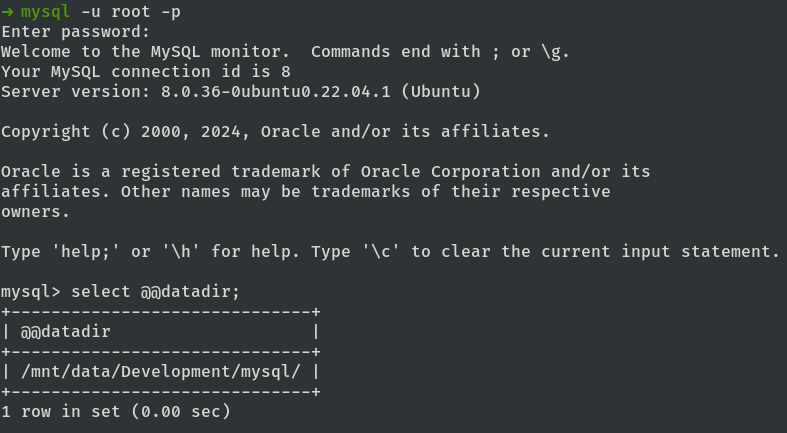
Install Composer
Composer is a dependency manager for PHP, designed to help you easily manage libraries and dependencies required for your PHP projects.
To install Composer, you can simply follow the steps in their installation manual: https://getcomposer.org/download/
But here are the steps in detail:
Download the Composer installer script by running the following command in your terminal:
php -r "copy('https://getcomposer.org/installer', 'composer-setup.php');Check if the downloaded installer script matches the expected SHA-384 hash. Visit https://composer.github.io/pubkeys.html and find the 'Installer Signature (SHA-384)'.
Use the signature you found to verify the installer script with the following commands:
php -rThis command will either display "Installer verified" or "Installer corrupt". If it's verified, continue to the next step. Otherwise, you will need to re-download the installer and go through the verification steps again.
Now, install Composer globally by running:
php -r "if (hash_file('sha384', 'composer-setup.php') === '$YOUR_HASH') { echo 'Installer verified'; } else { echo 'Installer corrupt'; unlink('composer-setup.php'); } echo PHP_EOL;"After installation, remove the installer script with:
php -r "unlink('composer-setup.php');"Finally, check your Composer version to ensure it was installed correctly:
composer -v

Create Laravel Project
After you have installed PHP and Composer, you may create a new Laravel project via Composer's create-project command:
composer create-project laravel/laravel example-appMake sure your environment variables are set correctly in your .env file.
For example, the MySQL connect settings:
DB_CONNECTION=mysql
DB_HOST=127.0.0.1
DB_PORT=3306
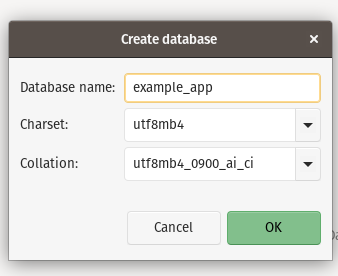
DB_DATABASE=example_app
DB_USERNAME=root
DB_PASSWORD=password
Do not forget to create the database, you can easily do that in DBeaver
Once the project has been created, start Laravel's local development server using Laravel Artisan's serve command:
cd example-appphp artisan serve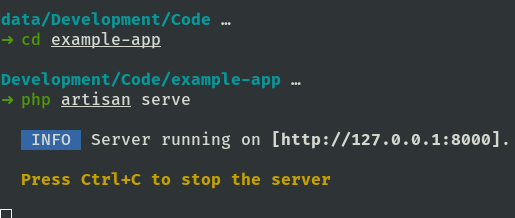
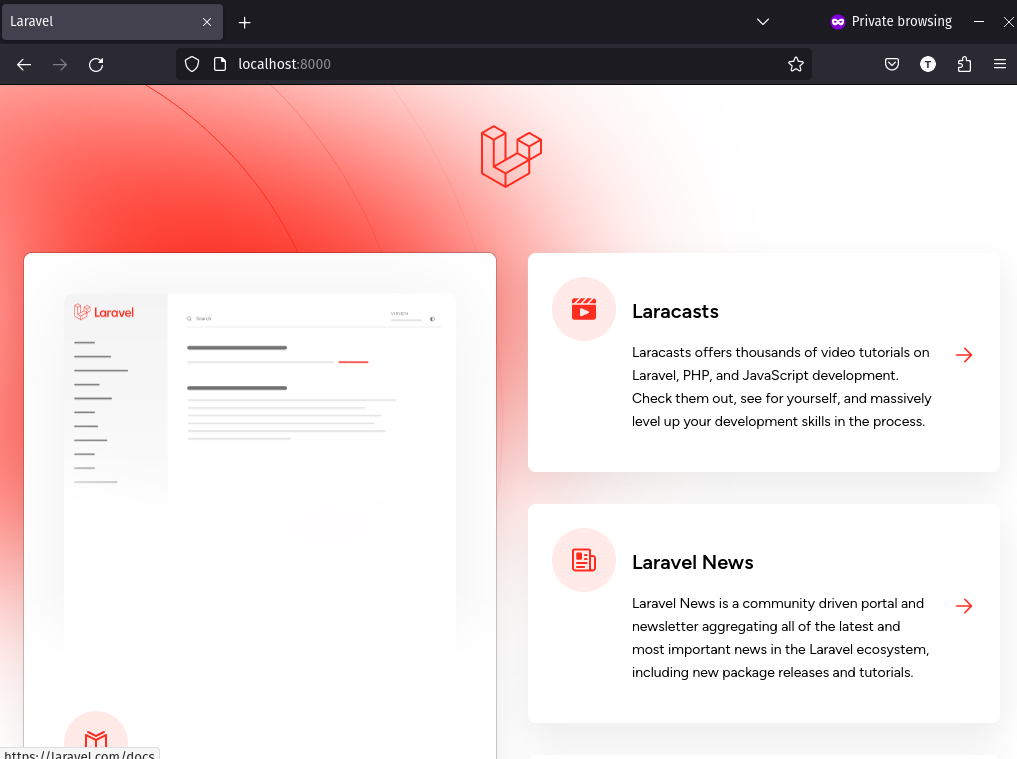
Now, you can visit http://localhost:8000 in your browser to see your app is up and running.
If you want to support my work, you can donate using the button below. Thank you!